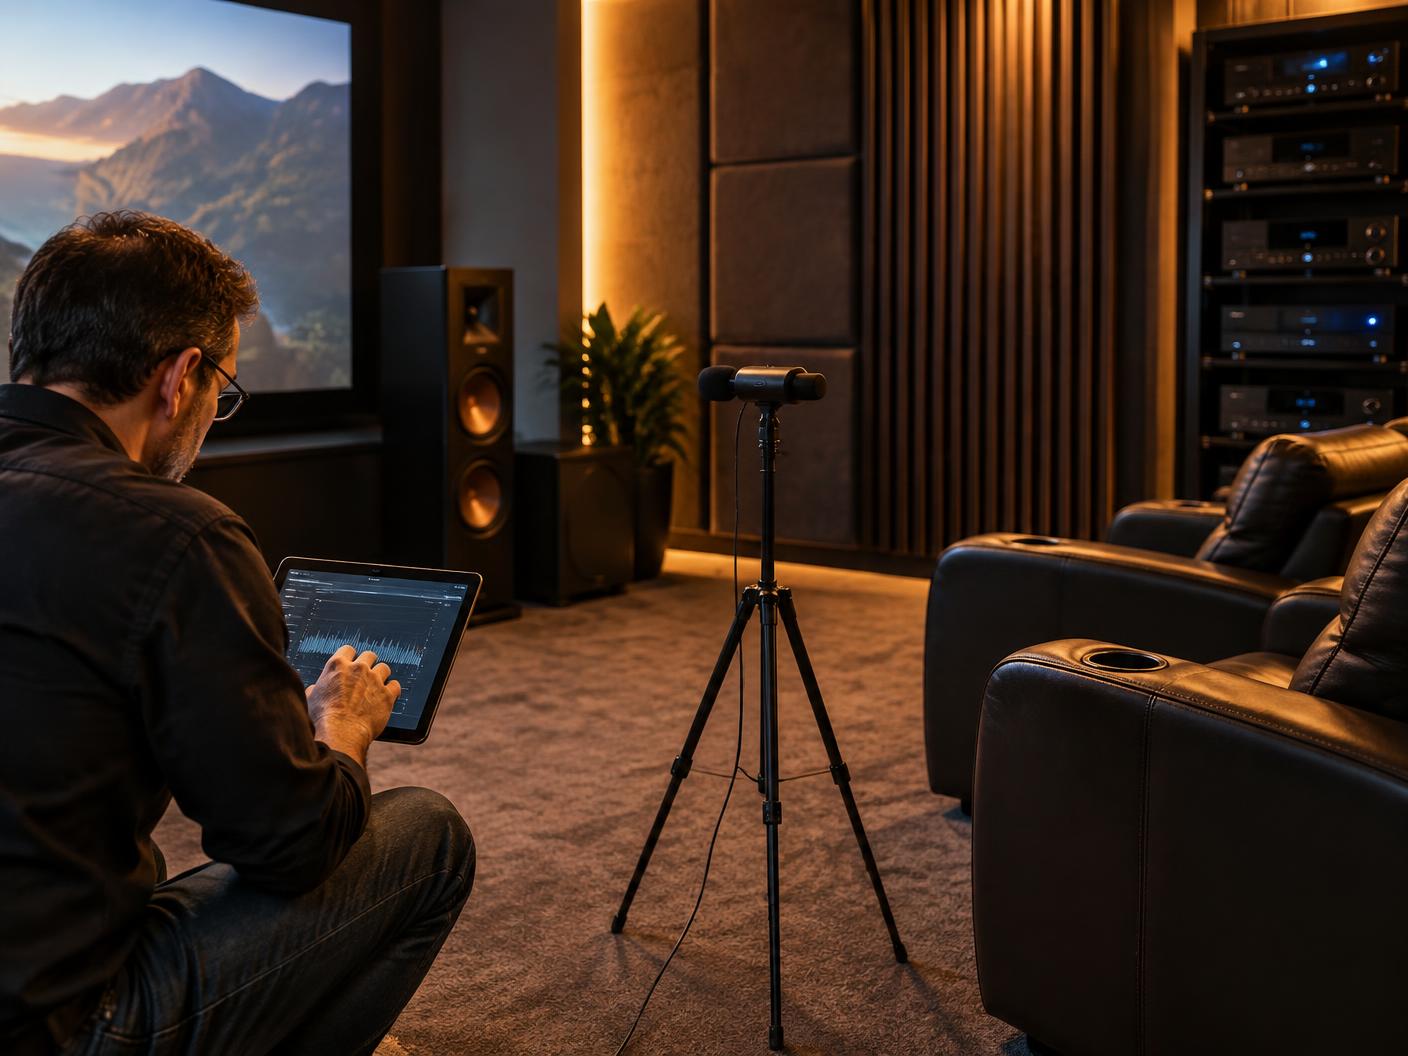
Home Theatre Planning Before Interior Work: Everything to Decide Before Your Interiors Begin
Before your false ceiling, wall panelling, electrical finishing and interior detailing are finalised, your home theatre should already have been planned. Room dimensions, seating, screen size, speaker locations, Dolby Atmos, acoustics, projector position, AV rack, wiring, electrical, HVAC and lighting all need to work together.
Seating, screen and speaker positions are fixed on drawing first — walls, ceiling and furniture then follow that layout.
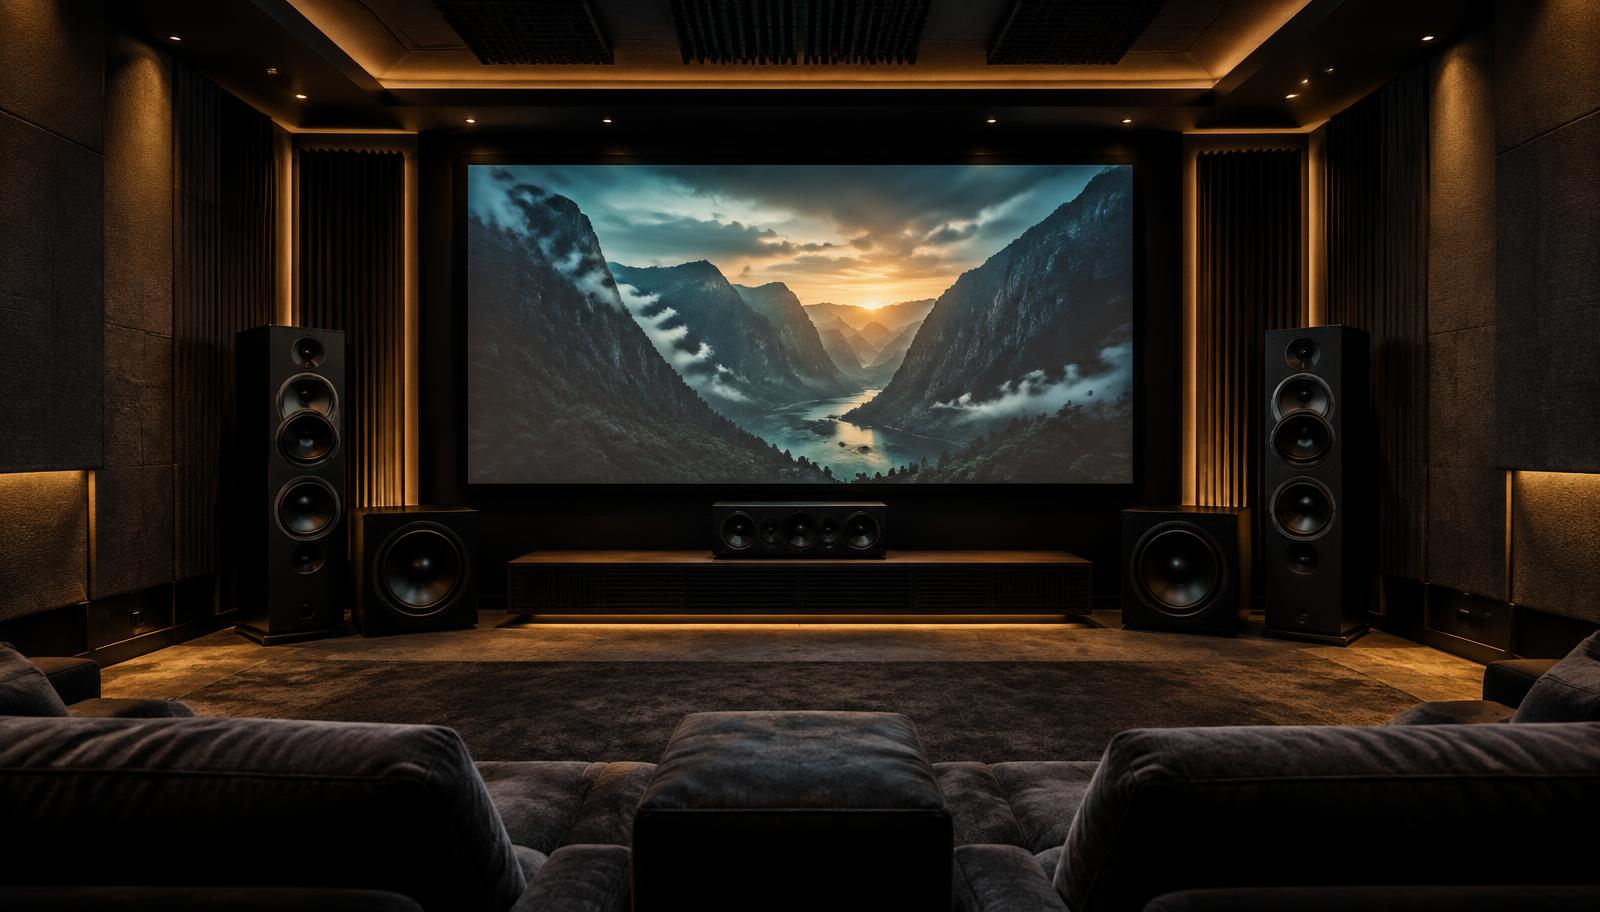
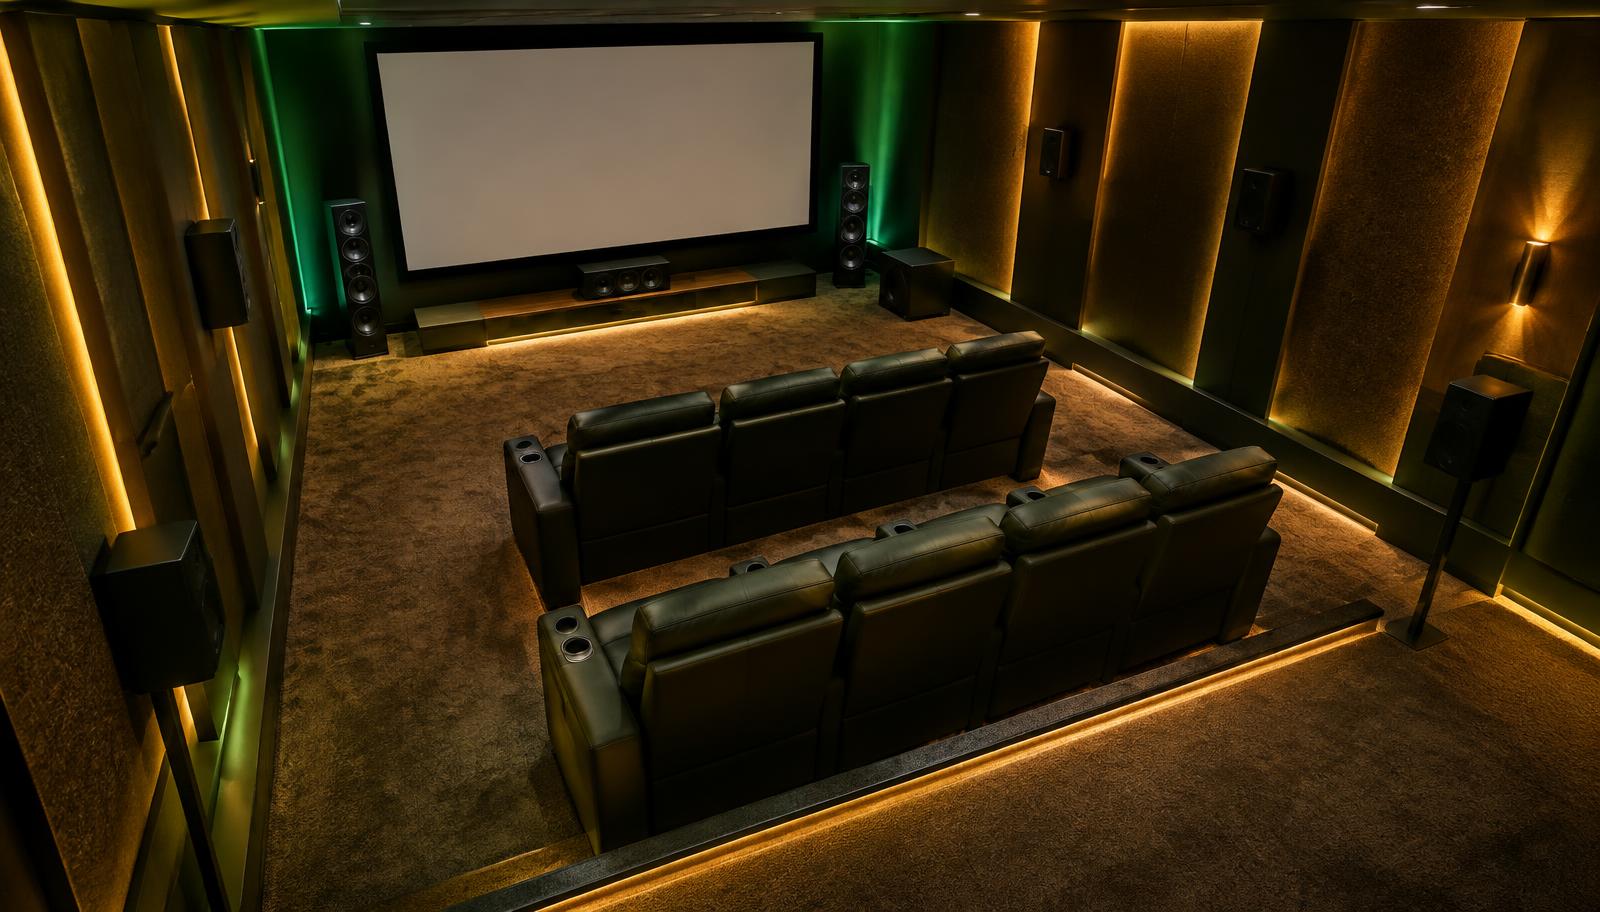
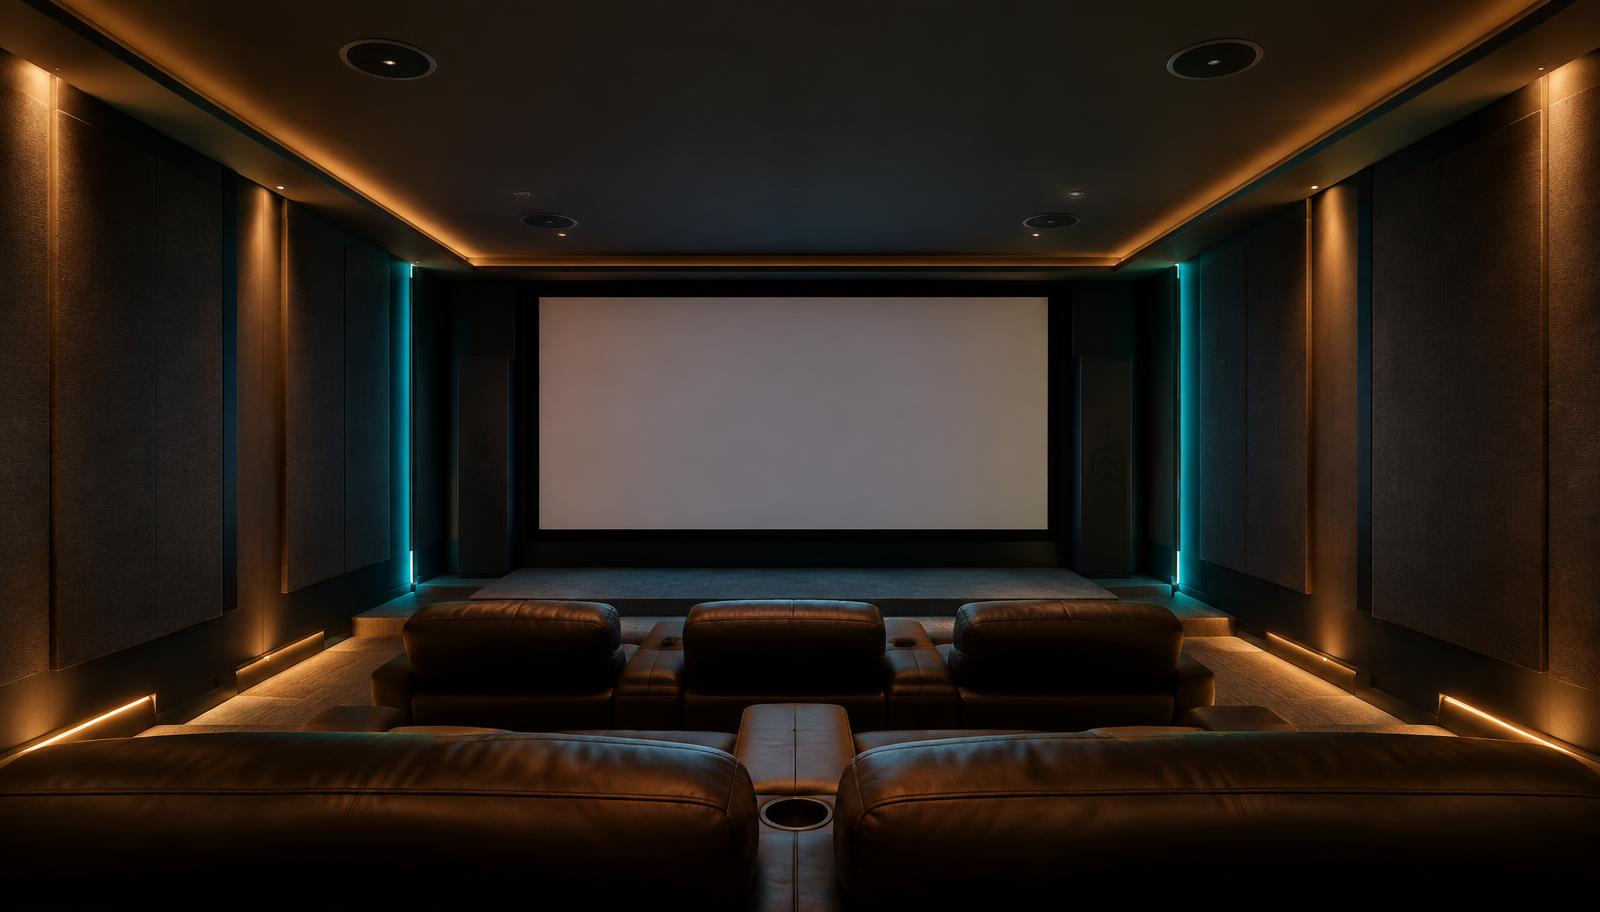
What a coordinated room looks like
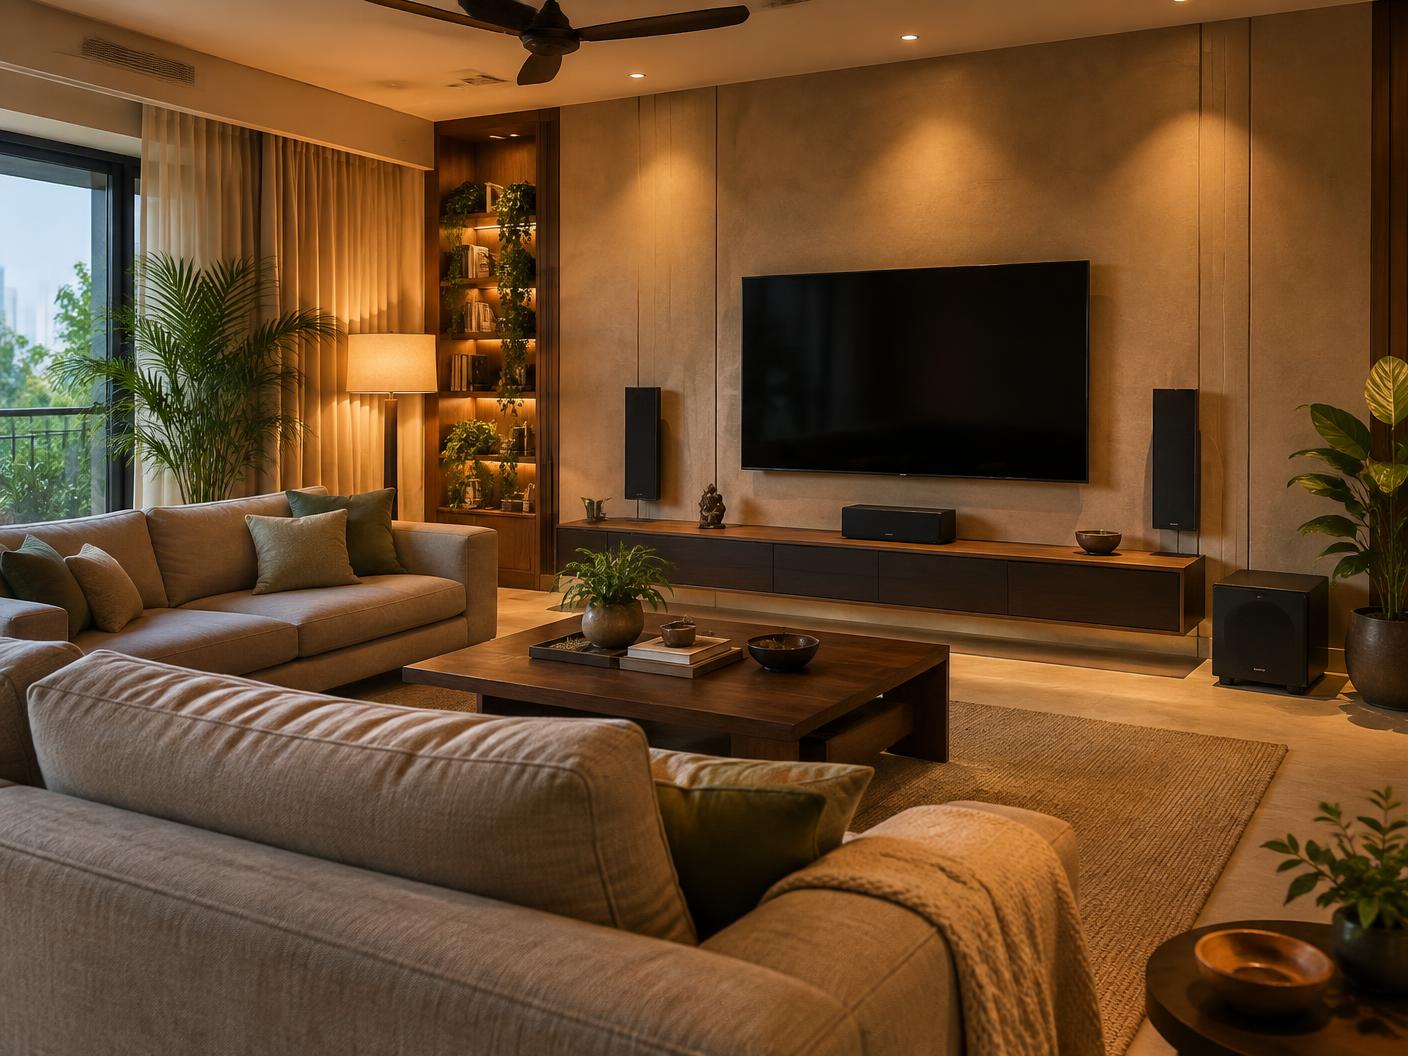
Height speakers marked on the ceiling plan before the grid goes upLiving-room theatre with concealed conduits and planned speaker pointsCalibration and commissioning — the final stage of the planning sequence
What Should Be Planned Before Home Theatre Interior Work?
Before interiors begin, fix these 23 decisions: room dimensions, room proportions, seating positions, screen size and type, projector or display, front speaker positions, surround speaker positions, Dolby Atmos speaker positions, subwoofer locations, acoustic treatment, sound isolation, AV rack location, electrical points, AV conduits, network connectivity, HVAC, lighting, door design, windows and blackout, flooring, seating, automation, and calibration and commissioning. The earlier these decisions are coordinated, the fewer compromises are required during interior execution.
Room assessment
Can My Room Become a Home Theatre?
Enter your room details to see the planning considerations to settle before interior work. This is not a score or a price — a proper layout follows a review of your floor plan or a site visit.
Helps us understand site coordination.
Decimals accepted, e.g. 6.2
Decimals accepted, e.g. 4.5
Slab-to-floor if interiors not done.
Whole number.
The Core Principle: Design the Room and the Theatre Together
Do not design the interior first and try to fit a home theatre into it later. Every decision in a theatre room depends on another: room dimensions influence screen size; screen size influences viewing distance; viewing distance fixes seating; seating decides speaker positions; speaker positions shape wall and ceiling design; Dolby Atmos drives ceiling planning; acoustics change wall and ceiling construction; projector placement affects ceiling and electrical layout; the AV rack decides cabling, power and ventilation; HVAC affects noise; and lighting affects picture quality. That is why home theatre design and interior design have to be coordinated as one system.
Room → screen size → viewing distance → seating
Seating → speaker positions → wall and ceiling design
Projector → ceiling point, power and signal; AV rack → conduits, power and cooling
HVAC and lighting → noise floor and picture contrast
The LiveInSmart Home Theatre Planning Sequence
We use a fixed 12-step sequence so that no decision is made before the decisions it depends on. Interior designers, architects and electricians can work from the output of each step.
LiveInSmart 12-step home theatre planning sequence
Step
Stage
What gets decided
01
Define the experience
Movies, sports, gaming, music or mixed use; dedicated theatre, media room or living room
02
Select the room
Which room, its shape, windows, doors, adjacency to bedrooms and neighbours
03
Measure the room
Length, width, slab and finished ceiling height, beams, columns, openings
04
Plan seating & viewing
Rows, seat count, main listening position, eye height, riser need
The first question is not which brand to buy — it is what the room is for. A dedicated theatre, a multipurpose media room and a living-room theatre need very different interior decisions.
Dedicated home theatre
A room used only for viewing. Allows full light control, acoustic wall build-ups, risers and in-ceiling Dolby Atmos. Interiors are designed around performance.
Media or family room
Used for movies, gaming and family time. Needs blackout, durable finishes and flexible seating, with acoustics integrated into décor.
Living-room theatre
Shares space with everyday life and daylight. Priorities are concealed wiring, discreet speakers and a display or ambient-light-rejecting screen that works in daytime.
2. Measure the Room Before Choosing Equipment
Record the actual room, not the brochure plan. Measure length, width, slab-to-floor height and the expected finished ceiling height after false ceiling and acoustic layers. Note beams, columns, windows, door swing, AC positions and any sloping ceilings. Proportions matter: long, narrow rooms and near-square rooms behave differently for bass and surround angles. Remember that acoustic panels, false walls and risers all consume space — a 4.5 m wide room can lose 20–30 cm once treatment depth is added.
Length, width and both slab and finished ceiling heights
Beams, columns, ducts and plumbing lines in walls or ceiling
Door and window positions, and which walls are shared with neighbours
Existing AC, electrical points and switchboards
3. Do Not Choose the Screen Before Planning Seating
Screen size should follow seating distance, not the largest size that fits the wall. Decide how many seats and rows you need, then fix the main listening position. From that distance, choose a screen width that fills a comfortable part of your view. With two rows, check sightlines from the rear row — that often means a riser, and a riser reduces effective ceiling height. Keep the main row off the rear wall where possible; a seat pressed against the back wall usually hears exaggerated bass and has no room for rear surrounds.
4. Plan Speaker Positions Before Wall and Ceiling Finishing
Once seating is fixed, speaker positions can be drawn. Front left, centre and right relate to the screen; surrounds relate to the ears of the main row. If speakers are to be in-wall or in-ceiling, their cut-outs, back-boxes and cable points must be placed before carpentry and panelling. Changing them later means cutting finished panels. See our speaker placement guide for 5.1, 7.1 and height angles.
Centre speaker position relative to the screen (below, behind acoustically transparent screen, or in a niche)
Side surrounds slightly behind or beside the main seats at ear height
Rear surrounds only when there is real space behind the seating
Subwoofer positions chosen for bass smoothness, not just hidden corners
5. Plan Dolby Atmos Before the False Ceiling
Height speakers are the most common casualty of late planning. Their positions depend on seat location, and they must not clash with AC grilles, light fixtures, sprinklers or ceiling grid members. Mark them on the reflected-ceiling plan with the lights and ducts, run cables before the ceiling closes, and add spare conduits if you plan to expand from 5.1.2 to 5.1.4 later. Our Dolby Atmos home theatre guide explains layouts in detail.
6. Decide on Screen Type Early
The screen type changes the front wall. A fixed-frame screen needs a flat, reinforced wall. A motorised screen needs a ceiling pocket or pelmet, a power point and a trigger. An acoustically transparent screen lets speakers sit behind it, which needs a false front wall with depth. A television or LED display needs a structural fixing, conduit and ventilation behind the panel. None of these are easy to add after the front wall is finished.
How screen choice affects interior work
Screen / display
Interior implication
Fixed-frame projection screen
Flat, strong wall; dark surrounding finishes; speaker positions below or beside
Motorised drop-down screen
Ceiling pocket or pelmet, power and trigger cable, clear drop zone
Acoustically transparent screen
False front wall with depth for speakers behind; black baffle
Ambient-light-rejecting screen
Suited to living rooms; lighting and projector position matter more
7. Acoustic Treatment Is Not the Same as Sound Isolation
Acoustic treatment improves how sound behaves inside the room — reducing echo, harsh reflections and uneven bass so dialogue is clearer. Sound isolation (often called soundproofing) reduces how much sound escapes to other rooms or neighbours, and how much outside noise gets in. Treatment uses absorbers, diffusers and bass traps; isolation uses mass, decoupling, airtight doors and sealed penetrations. Decorative foam does not soundproof a room. Read more in our room acoustics guide.
8. Plan Sound Isolation Before Civil and Interior Work
If isolation is needed — common in apartments and in rooms next to bedrooms — it must be built into the walls, ceiling, floor and door. That usually means additional layers, decoupled framing, a solid-core or acoustic door with seals, and sealed electrical and AC penetrations. Each layer takes room dimensions and ceiling height, so it must be agreed before the interior drawings are frozen.
9. Projector Position Must Be Planned Before Ceiling Design
Projector location depends on screen size and the chosen projector's throw ratio and lens shift. The mount point then drives a ceiling reinforcement, power point, HDMI or HDBaseT conduit, network point and sometimes a hush box or ventilation. If the projector model is not final, leave a conduit path and a service zone covering the likely throw range rather than a single fixed point.
Throw distance range for shortlisted projectors
Ceiling reinforcement and a service-accessible mount point
Dedicated power, signal conduit and network point at the mount
No light fixtures, AC outlets or beams in the light path
10. Plan the AV Rack Before Interior Finishing
The AV rack holds the receiver or processor, amplifiers, streamers and network equipment. Decide whether it sits inside the room, in a cabinet, or in an adjacent utility space. It needs front and rear access, dedicated power, and ventilation — enclosed joinery without airflow is one of the most common causes of equipment overheating. Every speaker, display and projector conduit should route back to this location.
11. Electrical Planning for a Home Theatre
Plan dedicated circuits for the AV rack and projector, with correct earthing. Decide on UPS or stabiliser needs, and where power backup changeover sits. Place sockets for subwoofers, motorised screens, the rack, the projector and seat recliners. Lighting circuits should be separated into scenes. Share these requirements with your electrician before chasing and wiring begin.
Dedicated AV and projector circuits with proper earthing
Power at subwoofer, recliner, screen, projector and rack positions
UPS/inverter strategy for the AV equipment
Separate lighting circuits for dimmable scenes
12. Use Conduits, Not Just Cables
Cables laid directly in walls cannot be upgraded. Conduits with pull wires let you replace HDMI, speaker or network cables as standards change. Use adequately sized conduits, gentle bends and accessible pull points, and keep power and signal routes separate. Add labelled spare conduits to the projector, the screen wall and the ceiling for future height speakers. Photograph and document every route before walls close. See the home theatre wiring guide.
13. HVAC Is Part of Home Theatre Design
A sealed, treated room with people and equipment heats up quickly. Air conditioning must cool the room quietly — noisy indoor units or high air velocity at grilles mask dialogue. Place indoor units and grilles away from the main seats and away from speaker and projector positions, plan drain routes, and account for rack heat. Where isolation is built, ducts and fresh-air paths need their own acoustic treatment.
14. Lighting Should Be Designed Around the Screen
Light falling on the screen reduces contrast. Avoid downlights directly above or in front of the screen, use indirect or step lighting for movement during viewing, and set scenes for movie, interval and cleaning. Dimmable, flicker-free drivers and a single control interface — or integration with home automation — make the room easy to use.
15. Doors, Windows and Blackout Planning
Doors are the weakest point for both light and sound. Decide on a solid-core or acoustic door with seals if isolation matters, and avoid placing the door where it breaks up surround speaker positions. Windows need full blackout — blinds, curtains with a track pocket, or motorised shading — and are usually covered by treatment or a false wall in a dedicated room.
16. Flooring, Seating and Risers
Carpet or rugs help control floor reflections; hard floors may need extra treatment elsewhere. Recliners need clearance behind for reclining and power underneath. A rear-row riser must be sized for sightlines, seat depth and a safe step, and it can be built to help control bass. Fix seat models or at least their dimensions before the flooring and riser are built.
17. Coordinate Interior Design and AV Design
Interior designers focus on aesthetics, materials and space; AV integrators focus on performance, infrastructure and serviceability. Both are needed. Problems happen when interiors are finished first and AV is added later — speakers end up behind cabinets, ceilings get cut, and panelling blocks cable access. The practical solution is to share drawings early and agree who owns each decision.
Who typically owns which decision
Decision
Lead
Must coordinate with
Seating and screen layout
AV integrator
Interior designer, client
Speaker and Atmos positions
AV integrator
Interior designer, ceiling contractor
Wall panels and finishes
Interior designer
AV integrator (acoustic performance)
False ceiling layout
Interior designer
AV integrator, HVAC, lighting
Conduits and power
Electrician
AV integrator
AC and ducting
HVAC contractor
AV integrator (noise), interior designer
18. Create One Coordinated Home Theatre Drawing
Before execution, combine everything into one coordinated set: floor plan with seating and speaker positions, front-wall elevation with screen and speakers, reflected-ceiling plan with Atmos speakers, lights, AC grilles and projector, electrical and conduit layout, rack elevation, and acoustic treatment zones. Every contractor then works from the same reference, and clashes are solved on paper rather than on site.
19. What Goes Wrong When Home Theatre Planning Starts Too Late?
These are the problems we are most often called to fix after interiors are complete.
Height speakers impossible without cutting a finished false ceiling
Projector mount clashes with a beam, light or AC outlet
No conduit to the projector — surface cable runs across the ceiling
Centre speaker hidden inside a closed TV cabinet, muffling dialogue
Rack enclosed in joinery with no ventilation
Seating against the back wall with boomy, uneven bass
Decorative panels mistaken for soundproofing
Noisy AC indoor unit directly above the seats
Downlights washing out the screen
20. Home Theatre Pre-Interior Master Checklist
Use this before the interior team finalises drawings. Every line should have an answer.
Room and layout
Room chosen and measured (slab and finished heights)
Seating rows, seat count and main listening position fixed
Riser need and height confirmed
Door and window positions reviewed
Screen, projector and display
Screen size, type and front-wall build-up decided
Projector throw range and mount zone marked
Power, signal and network at projector
Audio and acoustics
Speaker layout (5.1 / 7.1 / Atmos) chosen
All speaker and subwoofer positions drawn
Treatment zones and depth allowed
Sound isolation decision made
Infrastructure
AV rack location, access and ventilation
Dedicated circuits, earthing and UPS plan
Conduits with pull wires plus labelled spares
Network points and Wi-Fi coverage
Comfort and control
Quiet HVAC location and duct routes
Lighting scenes, no light on screen
Blackout for every window
Automation and control interface
21. Recommended Home Theatre Planning Sequence on Site
On a real project, work follows this order: Concept → Layout → AV design → Acoustic design → Civil → Electrical → HVAC → Interior coordination → Installation → Calibration. At concept and layout stage you decide use, seats and screen. AV and acoustic design fix positions and construction layers. Civil, electrical and HVAC build the infrastructure. Interior coordination closes walls and ceilings around what is already placed. Installation and calibration come last, when dust-generating work is finished.
22. When Should You Involve a Home Theatre Specialist?
The best time is before the false ceiling, wall panelling, electrical finishing, acoustic construction and final interior detailing. Ideally, bring a specialist in when the floor plan is available and the room has been chosen. Existing rooms can still be planned well, but options narrow as finishes are completed.
23. Can an Existing Room Be Converted Into a Home Theatre?
Yes. An existing room is assessed for layout, construction, current wiring and furniture. Options include surface-mounted or on-wall speakers, slim raceways or partial re-chasing, freestanding acoustic panels, a new rack location and blackout upgrades. Some targets — full isolation or in-ceiling Atmos without touching the ceiling — may not be practical, and we will say so clearly rather than overpromise.
24. Home Theatre Planning Across India
Home theatre planning principles are broadly applicable across India, but project execution varies with property type, construction stage, room constraints, local building conditions and available installation support. Apartments in high-rise towers raise neighbour and structural constraints; villas and independent houses allow more construction freedom; coastal and humid cities need more attention to dehumidification and equipment ventilation. Floor plans and room photos can be reviewed remotely, and on-site scope is confirmed during consultation.
Planning a home theatre in Hyderabad?
Hyderabad projects range from gated-community villas to high-rise apartments. Early coordination with the interior team, concealed wiring before ceiling work and quiet AC placement are the recurring priorities. Explore our home theatre setup in Hyderabad or visit the Hyderabad experience centre.
Planning a home theatre in Vijayawada?
Many Vijayawada projects are new independent houses and villas, which is ideal for planning conduits, risers and dedicated rooms from the start. Explore home theatre in Vijayawada or visit the Vijayawada experience centre.
For projects in other cities, we can begin with a remote review of your floor plan, room photos and interior drawings. Site support for installation is confirmed project by project during consultation.
25. How LiveInSmart Approaches Home Theatre Planning
Our process moves from understanding the room to a documented handover: 01 Consultation · 02 Room / floor plan assessment · 03 Requirement understanding · 04 Theatre layout · 05 AV system design · 06 Acoustic planning · 07 Electrical and conduit coordination · 08 Interior coordination · 09 Installation · 10 Calibration · 11 Testing · 12 Handover. We work alongside your architect, interior designer and electrician rather than replacing them, and we provide the AV positions and infrastructure requirements they need to build around.
Experience centres in Hyderabad and Vijayawada for listening and viewing demonstrations
Room-first recommendations — layout before brands
Coordination drawings shared with your interior and electrical teams
Book a free demo at the LiveInSmart Hyderabad Experience Centre — listen to Dolby Atmos, see 4K laser projectors and walk through live home-automation scenes before you buy.
Pancom Business Centre, Mumbai Hwy, Nagarjuna Nagar Colony, Ameerpet, Hyderabad 500073
As soon as the room is chosen and a floor plan exists — before the false ceiling, wall panelling, electrical finishing and acoustic construction begin.
Should home theatre wiring be completed before interior work?+
Yes. Conduits, speaker cable routes, projector and display signal paths, network and dedicated power should be in place, tested and documented before walls and ceilings are closed.
Should I choose the projector before designing the false ceiling?+
Ideally, yes. If the exact model is not final, fix the screen size and a throw-distance range, then provide a reinforced mount zone and a conduit that covers the likely positions.
How do I decide the screen size for my room?+
Start from seating distance, not wall width. Fix the main seating position, then choose a screen width that is comfortable from that distance while leaving space for speakers and treatment.
When should Dolby Atmos speakers be planned?+
Before the false ceiling is designed. Height speaker positions depend on seating and must be coordinated with lights, AC grilles and ceiling framing on the reflected-ceiling plan.
Do I need acoustic treatment?+
Most rooms benefit from it. Hard, bare surfaces create echo and uneven bass that reduce dialogue clarity. The amount depends on room size, finishes and use.
Is acoustic treatment the same as soundproofing?+
No. Treatment improves sound inside the room. Soundproofing, or sound isolation, reduces sound passing to and from other spaces and must be built into construction.
Where should the AV rack be located?+
Where it has front and rear access, dedicated power, good ventilation and short, practical conduit routes to all speakers, the display or projector — in the room, a ventilated cabinet or an adjacent space.
How should HVAC be planned for a home theatre?+
Size cooling for people and equipment, choose quiet units, keep grilles and indoor units away from seats, speakers and the projector path, and plan drainage and ducting before the ceiling.
Can an existing room be converted into a home theatre?+
Yes. The room is assessed for layout and construction, and the design uses surface or partially concealed options where finishes cannot be opened.
Can a home theatre be planned in an apartment?+
Yes. Apartments need extra attention to bass reaching neighbours, ceiling height, structural limits and society rules, so isolation and subwoofer choices are decided early.
Can LiveInSmart help with projects outside Hyderabad?+
Yes. We support projects across Andhra Pradesh and Telangana from Hyderabad and Vijayawada, and for other cities we can start with a remote floor-plan review; on-site support is confirmed per project.
What information should I share with a home theatre consultant?+
Floor plan, room dimensions including ceiling height, photos or video of the room, construction or interior stage, seat count, intended use, city, and any interior drawings or designer contact.
Should the interior designer and AV integrator coordinate before construction?+
Yes. Early coordination avoids cutting finished ceilings and panels, and lets the interior design hide speakers, conduits and treatment without compromising performance.
Plan your theatre before the interiors begin?
Share your floor plan, room size, seat count and current construction stage. We will help coordinate the theatre layout with your interior designer before ceilings and walls are finalised.