Home Theatre Sound System: Complete Guide to 2.1, 5.1, 7.1 & Dolby Atmos
A convincing cinema soundtrack is created by a complete system, not a speaker count. Use this knowledge hub to plan the room, seats, layout, amplification, bass, acoustics and calibration as one connected design.
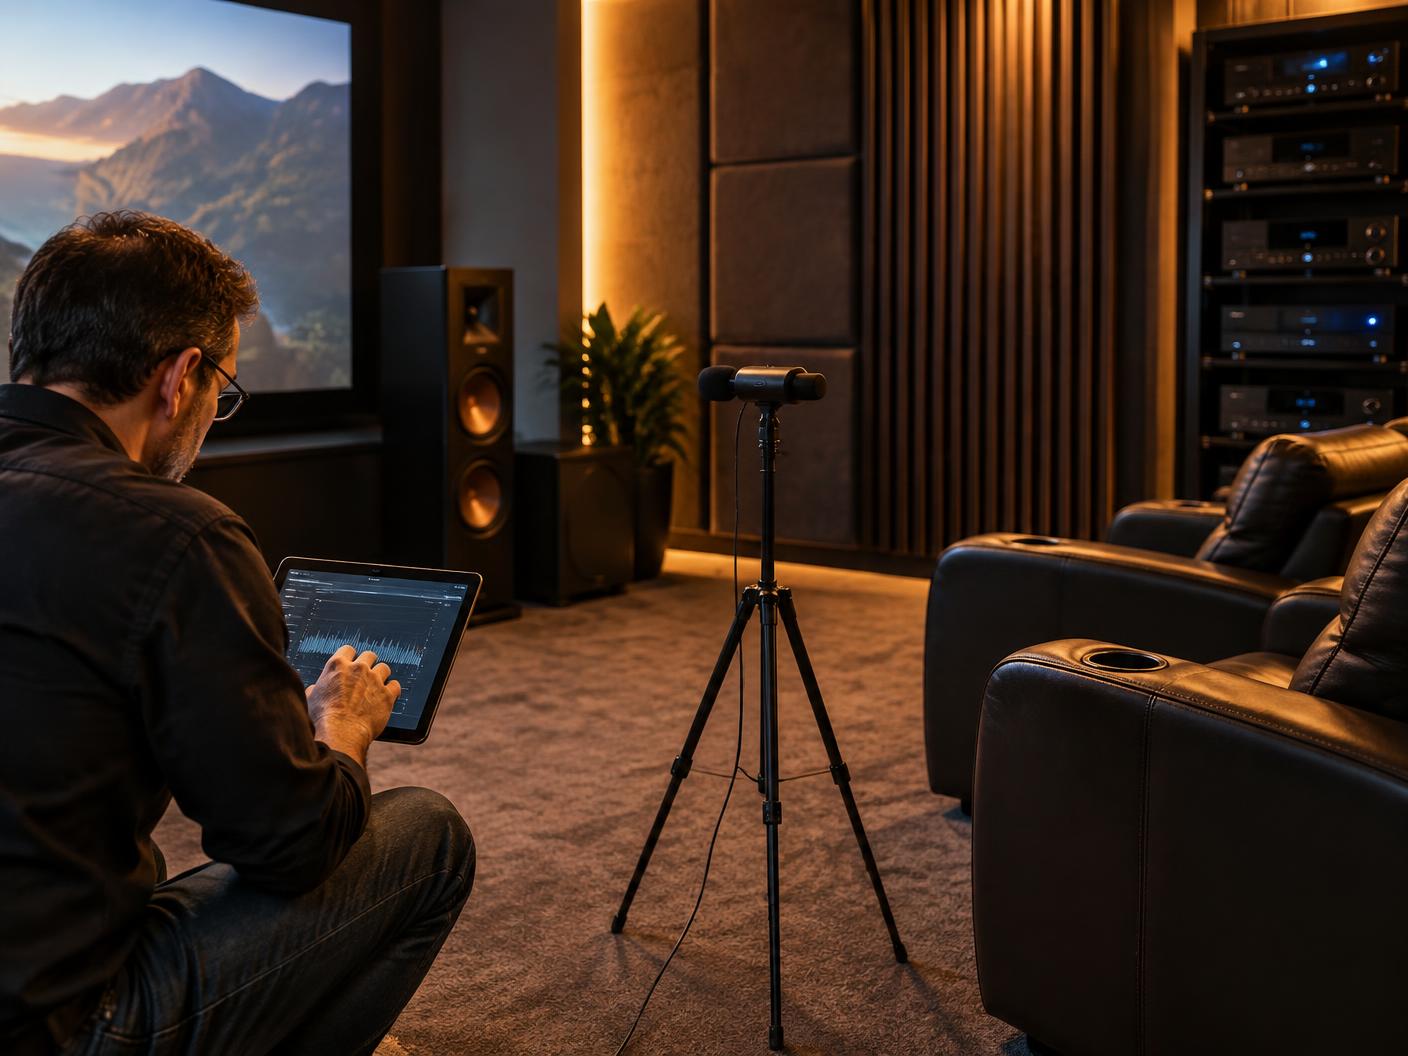
Measurement confirms what careful listening starts: level, distance, phase and bass must work together at the seats.
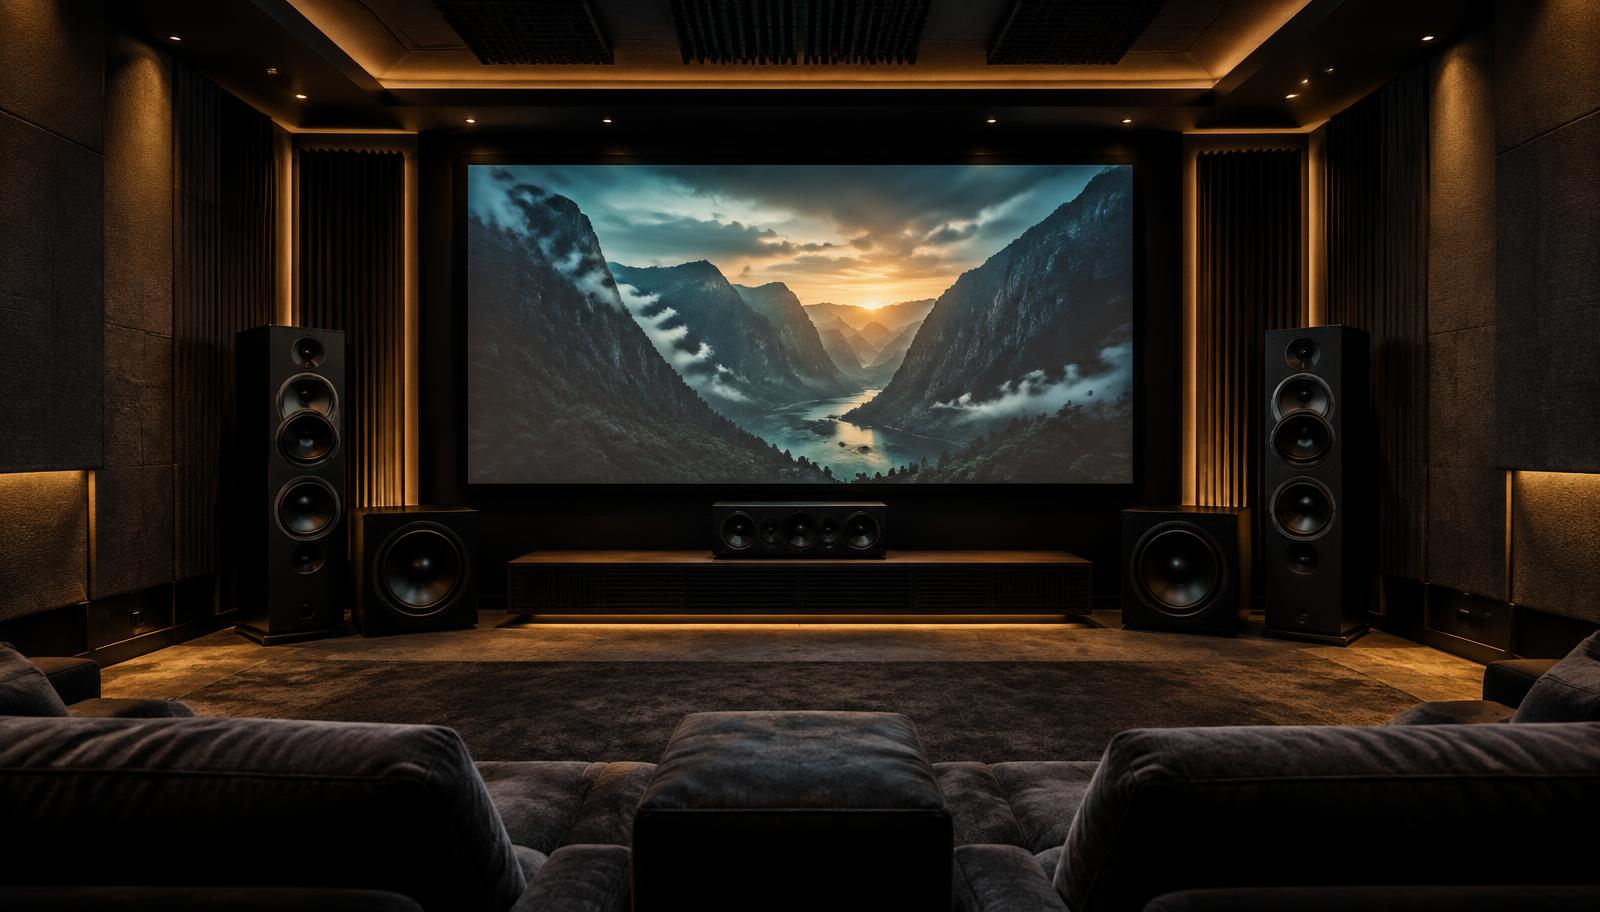
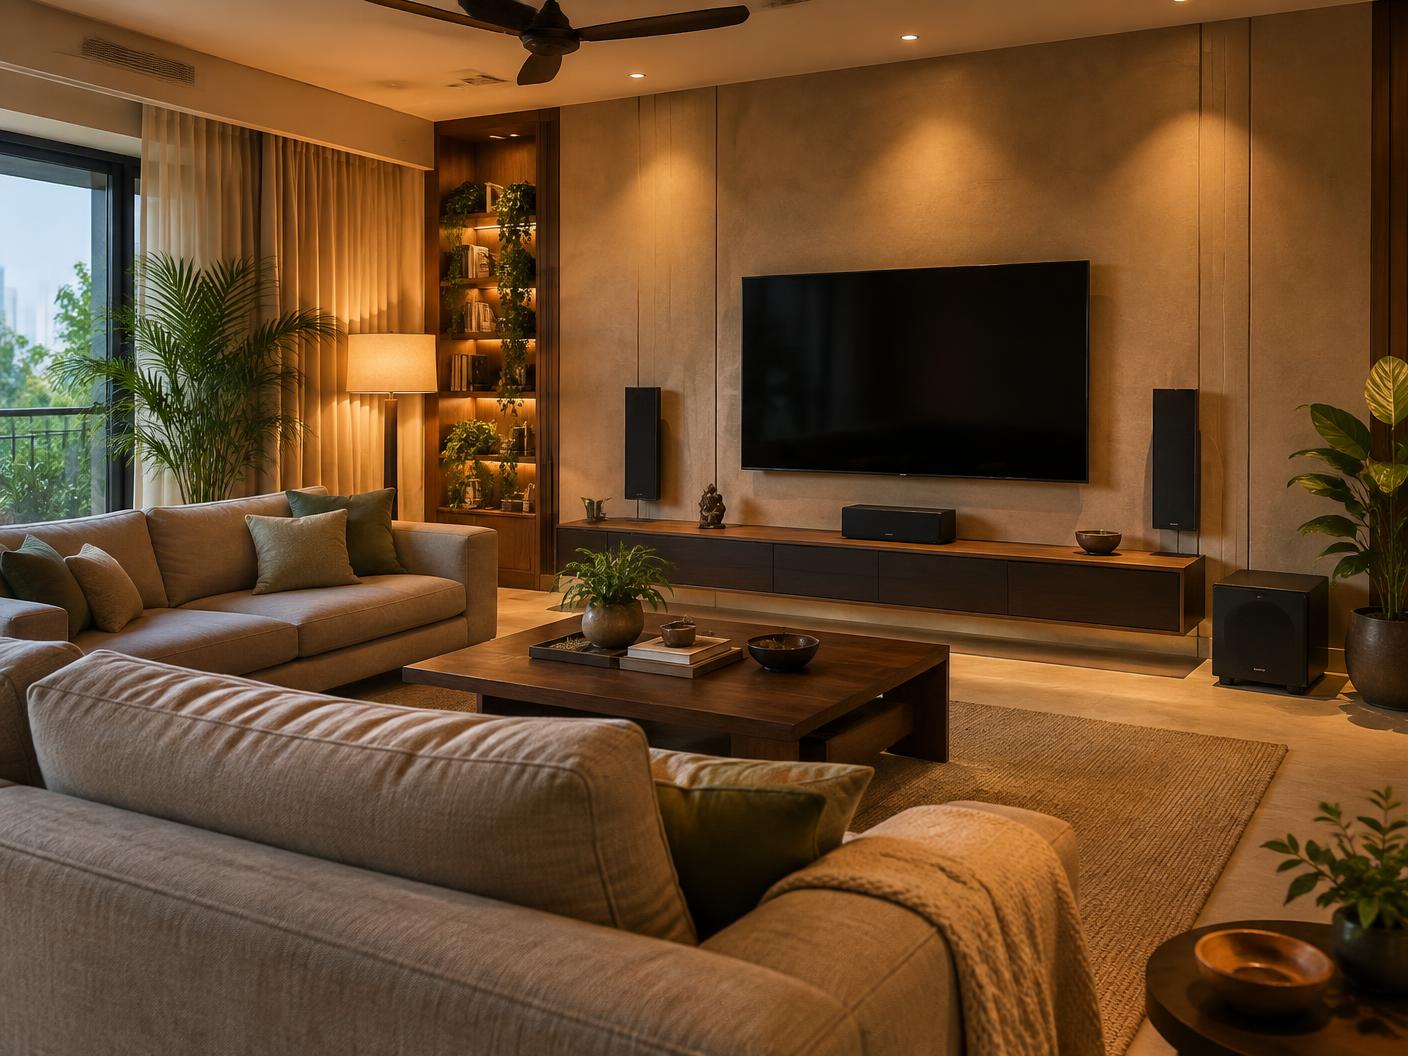
Dedicated-room front stageLiving-room surround without losing everyday comfortRoom-aware setup and calibration
What makes a good home theatre sound system?
A good home theatre sound system matches the speaker layout and amplifier to the room, seats and listening habits. The dependable sequence is Room → Seating → Layout → AV receiver → Subwoofer → Acoustics → Calibration → Installation. A correctly placed and tuned 5.1 system can outperform a larger system that was chosen by channel count alone.
Room-first planning tool
Start with the room, not the box
Enter a few basics for a directional layout. This is a planning aid, not a substitute for checking seating, openings, ceiling construction and room acoustics on site.
Floor area
20.0 m²
Listening seats
4
Starting layout
5.1.2 or 5.1.4
Directional recommendation
Compare 5.1.2 or 5.1.4 around the actual seating plan.
Start with one correctly placed subwoofer; allow wiring for a second if the room response needs it.
Prioritise dialogue clarity, enveloping surround coverage and controlled bass.
Confirm speaker angles, AVR channels, cable routes and acoustic treatment before ordering equipment.
Final recommendations depend on ceiling height, construction, openings, listening distance, desired output and measured room response.
The System Is a Chain, Not a Shopping List
Every link changes the result. Room dimensions create bass modes. Seating decides the useful speaker angles. The layout sets the number of amplifier channels. Speaker sensitivity and listening distance influence power needs. Subwoofer placement controls bass consistency, while treatment and calibration determine how much of the hardware's performance reaches the listener. Start with these relationships before comparing products.
Room: dimensions, openings, surfaces and background noise
Seating: number of rows, ear height and distance from boundaries
Layout: bed-layer and height channels that fit those seats
AVR or processor: enough powered and processed channels, connectivity and correction tools
Bass: subwoofer quantity and placement based on room response, not appearance
Acoustics, calibration and installation: the steps that turn equipment into one coherent system
What 2.1, 3.1, 5.1 and 7.1 Actually Mean
The first number counts ear-level speakers. The number after the point counts low-frequency-effects channels reproduced by subwoofers. In ordinary use, “.1” does not limit the room to one physical subwoofer; two subs can reproduce the same bass channel while smoothing response across seats.
Common home theatre sound layouts and where each starts to make sense
Layout
What it includes
Best fit
Main trade-off
2.1
Left, right, subwoofer
Music-led rooms and compact television areas
No dedicated dialogue or surround channels
3.1
Left, centre, right, subwoofer
Rooms where clear dialogue matters but rear speakers are impractical
Front stage only
5.1
Front three, two surrounds, bass
Most living rooms and single-row theatres
No independent overhead layer
7.1
5.1 plus two rear surrounds
Longer rooms with space behind the seats
Rear channels add little when seating touches the back wall
5.1.2
5.1 plus two height speakers
Compact Atmos introduction
Overhead movement is less continuous than four heights
5.1.4
5.1 plus four height speakers
Single-row rooms seeking stronger three-dimensional movement
Needs four suitable ceiling positions and more amplification
7.1.4
Seven ear-level plus four height speakers
Larger rooms with space around the seating
More wiring, channels, planning and calibration
Choose the Smallest Layout That Covers Every Seat Well
More channels are useful only when the room can place them at meaningful angles. A sofa against the back wall has no space for convincing rear surrounds, so 5.1 or 5.1.2 may be more honest than 7.1. A long room with two seating rows may benefit from side and rear coverage, but then speaker dispersion and level matching matter as much as channel count.
Compact multipurpose room
Begin with 3.1 or 5.1. Protect dialogue clarity, keep speakers clear of furniture and make the system easy to use every day.
Medium living room or media room
5.1.2 or 5.1.4 can add a useful height layer if ceiling positions are possible. Plan wiring before interiors are closed.
Dedicated cinema with space behind the seats
7.1.4 becomes practical when side, rear and overhead speakers can form clear angular separation around the main listening area.
Dolby Atmos: Height Is a Separate Layer
Atmos adds sound objects and overhead reproduction to the conventional bed layer. In 5.1.2, the final digit means two height channels; in 5.1.4 and 7.1.4 it means four. Properly positioned in-ceiling or on-ceiling speakers normally produce more precise overhead movement than reflected solutions, but the correct method depends on ceiling height, construction and room use. Read the dedicated Dolby Atmos guide for deeper layout planning.
Do not count height speakers as substitutes for side or rear surrounds
Keep left and right height pairs symmetrical to the seating where construction allows
Confirm the receiver can process and power the intended layout simultaneously
Re-check angles when recliners change head position or when there are two rows
The Front Stage Carries the Story
Left, centre and right speakers anchor voices, music and action to the screen. The centre handles much of the dialogue in film mixes, so it should not be squeezed into a closed cabinet or placed far above or below ear level without aiming. For an acoustically transparent projection screen, three matching speakers behind the image can create a seamless front stage. In a living room, matching tonal character across the front is still more important than identical cabinet shape.
Surround and Height Speakers Should Disappear Sonically
Surrounds are not intended to call attention to a box on the wall. They extend ambience and directional effects around the listening area. Place them relative to the listeners rather than room corners, keep left/right geometry as balanced as practical, and avoid firing one nearby speaker directly into one person's ear. Height channels need audible separation from the bed layer; installing every speaker high on the wall weakens that distinction.
One Subwoofer or Two? Think Consistency, Not Just Impact
A subwoofer handles the deepest effects and relieves smaller speakers of demanding low frequencies. Its best position is determined by the room, not by the nearest empty corner. One sub can work very well at a primary seat. Two correctly placed and aligned subs are often chosen to reduce large bass differences across several seats—not merely to play louder.
Plan
Strength
Watch for
One subwoofer
Simpler placement, wiring and calibration
One seat may sound balanced while another has a peak or null
Two subwoofers
Can smooth response across a wider seating area
Poorly placed or misaligned units can cancel each other
AV Receiver Matching: Channels Are Only the Beginning
An AV receiver switches video, decodes formats, applies bass management and room correction, and powers speakers. Match it to the final—not just initial—layout. Check how many channels it can process, how many it can amplify, the required HDMI features, pre-outs for future external amplification, speaker impedance guidance and the correction system available. Claimed power figures are difficult to compare unless their test conditions match, so room size, speaker sensitivity, distance and listening level provide better context. Explore AV receivers and processors.
Speaker Type Is a Placement Decision
Floorstanding, bookshelf, on-wall and in-wall speakers can all work in a serious system. Choose by listening distance, desired output, available volume and interior constraints—not by a belief that one cabinet type is automatically superior.
Speaker type
Useful when
Design check
Floorstanding
The room allows visual presence and higher output
Boundary spacing and sightlines
Bookshelf / stand-mount
Moderate distances and flexible placement
Stable stands and enough space from walls
On-wall
A shallow, clean installation is important
Mounting height, aiming and wall reinforcement
In-wall
A discreet or behind-screen front stage is planned
Back-box, cavity, service access and construction timing
In-ceiling
Height effects or discreet distributed sound
Joists, ducts, lights, aiming and fire/acoustic detailing
Speaker Placement Starts at the Main Listening Position
Mark the primary seats before marking speaker points. The centre should relate to screen height; left and right should form a stable image rather than hug the screen by default; surrounds should cover the listening area; rear speakers need genuine space behind it; and height channels should follow the intended overhead geometry. Avoid placing the main row exactly halfway through the room, where bass cancellations are often severe. The speaker placement guide provides more angle-by-angle detail.
Acoustic Treatment and Soundproofing Solve Different Problems
Acoustic treatment improves sound inside the room by controlling reflections, decay and bass behaviour. Sound isolation reduces transmission between rooms through mass, decoupling, airtight construction and controlled penetrations. Foam tiles are not soundproofing. A useful plan treats first reflections and decay without making the room unnaturally dead, then adds bass management where measurement shows it is needed. See home theatre room acoustics and soundproofing.
Goal
Typical methods
Result
Better clarity inside
Absorption, diffusion, bass control, placement
Clearer dialogue, imaging and decay
Less sound outside
Mass, decoupling, seals, isolated doors and penetrations
Reduced transmission to adjacent spaces
Calibration Is the Final Construction Step
Automatic room correction is a starting measurement system, not a one-button substitute for design. A careful commissioning pass checks polarity, channel assignment, distances, trims, crossover behaviour, subwoofer phase and delay, then validates the result by measurement and listening. Correction should not be expected to repair a speaker blocked by furniture, a seat in a deep room null or uncontrolled reverberation.
Verify every speaker and cable before correction
Measure more than one seat when the system serves a family
Set crossovers around real speaker capability and room behaviour
Save and document stable presets
Demonstrate everyday controls during handover
Movies, Music and Gaming Need Different Priorities
Film playback rewards dialogue anchoring, surround continuity and deep controlled bass. Music-led listening places greater emphasis on front-stage tonality, imaging and stereo operation. Gaming adds latency, HDMI bandwidth and accurate directional cues. A mixed-use system should preserve simple signal paths and useful presets instead of forcing one aggressive calibration on every source. For a complete gaming signal-path guide, see gaming setup with projector and sound.
Soundbar or Separate Speakers?
A soundbar is appropriate when simplicity, rental restrictions or minimal visual impact are the priority. Separate speakers allow wider physical separation, scalable bass, replaceable components and more precise surround placement. The honest choice depends on the room and expectations: a well-installed soundbar can improve television sound substantially, but it does not create the same geometry or upgrade path as correctly positioned loudspeakers.
Pre-Wiring Protects the Design
The least expensive time to plan cable routes is before ceilings, wall panels and cabinetry are complete. Document every conduit, provide draw wires, separate signal from mains where practical, allow service loops, label both ends and photograph routes before closure. Include spare paths for future height speakers, a second subwoofer, projector or display upgrades, network connections and control. The home theatre wiring guide expands this checklist.
What Determines Home Theatre Audio Cost
There is no responsible room-independent figure. The budget changes with layout, room volume, desired output, speaker construction, amplification, subwoofer quantity, correction capability, wiring access, acoustic work, cabinetry, power conditioning and installation complexity. Prioritise the front stage, bass integration and room fundamentals before decorative upgrades. For local project context, use the Hyderabad cost guide; the final scope should follow a room assessment.
Number of processed and powered channels
Speaker output needed at the listening distance
One seating row versus several
Visible, on-wall, in-wall or behind-screen installation
New-build pre-wire versus finished-room retrofit
Acoustic treatment and isolation scope
Calibration, documentation and support requirements
A Practical Design and Installation Sequence
The sequence prevents expensive compromises. LiveInSmart begins with how the room will be used, then coordinates the technical design with interiors and electrical work before equipment is installed.
1. Brief and room survey
Record dimensions, construction, openings, noise, seating, screen plan, sources and expected use.
2. Seating and layout
Fix viewing and listening positions, then compare layouts that can achieve meaningful speaker angles.
3. System engineering
Match speakers, amplification, bass, video connectivity, control and power to the agreed room plan.
Mount, terminate, label and test each connection before finishes restrict access.
6. Calibration and handover
Measure, listen, document presets, explain controls and record the final configuration for support.
Design Example: Compact Living Room
Consider a multipurpose room roughly four metres wide with one sofa, a television, a doorway near one side wall and no permission to cut the ceiling. The best first question is not whether 7.1 is affordable; it is whether seven ear-level channels can form useful angles without blocking circulation. A 3.1 system protects dialogue and stereo width when surrounds are impossible. If cable routes can reach both sides of the sofa, 5.1 adds a real surround field. Slim on-wall speakers may fit better than large towers, while a carefully positioned subwoofer supplies scale without asking the front speakers to reproduce deep bass. Reflected height modules can be evaluated, but they should not be promised as equivalent to ideal overhead placement in every ceiling. The design should also include a quiet equipment location, network connection, surge protection, simple control and a bass setting suitable for neighbours. This example shows why an honest five-channel room can be more satisfying than a compromised specification with more channels.
Design Example: Dedicated Cinema Room
A dedicated room provides more freedom, but it also makes planning errors harder to hide. Begin by choosing the screen size and seating distances together, then keep the main row away from severe room modes and preserve walking space. An acoustically transparent screen can hide three matching front speakers at consistent height, creating dialogue that comes from the picture rather than furniture below it. Side surrounds should cover each row without becoming painfully close to an end seat; rear surrounds require distance behind the last row; four height channels need front-to-back separation. Two or more subwoofer positions can be wired before wall treatment is installed, even if the first phase uses one sub. The equipment rack needs ventilation, service access, labelled terminations and enough depth for connectors. Acoustic design should consider low-frequency decay, first reflections and overall reverberation alongside isolation from bedrooms or neighbours. Only after these constraints are mapped should speaker output, amplifier headroom and correction capability be selected. This protects both performance and future serviceability.
How to Audition a Home Theatre Audio System
A useful demonstration compares complete systems at matched loudness rather than allowing the louder option to appear more detailed. Bring familiar scenes and music: quiet dialogue, a dense action sequence, a bass passage with sustained notes, a wide stereo recording and content you know well. Listen from more than one seat. Voices should remain natural and anchored; effects should move without obvious jumps; bass should have pitch and stop cleanly rather than producing one repeated boom; and treble should remain comfortable at realistic levels. Ask what processing mode is active, whether a subwoofer is contributing, how the crossover is set and whether the room itself differs significantly from yours. A showroom audition reveals preferences, but it does not replace room-specific design because dimensions, surfaces and placement change the result. At the LiveInSmart Hyderabad Experience Centre, use the demonstration to identify priorities—dialogue, scale, music quality, low-volume clarity or discreet installation—then translate those priorities into your room plan.
Plan an Upgrade Path Instead of Replacing Everything
A good architecture can be built in phases. An existing pair of suitable front speakers may become part of a 3.1 or 5.1 system after compatibility and condition are checked. A receiver can be selected with processing or pre-outs for future height channels. Spare ceiling conduits can be installed while interiors are open, even if Atmos speakers come later. Wiring for a second subwoofer preserves a useful option when additional seats are added. The important rule is that the final intended layout must be known early: otherwise the first receiver may lack channels, the centre may not fit the cabinet, or decorative ceiling work may occupy every valid speaker point. Upgrade decisions should also consider whether older HDMI connections support the required video formats and whether a new source changes control expectations. Reusing equipment is valuable when it serves the design; keeping a component merely because it exists can force expensive compromises elsewhere. LiveInSmart can assess existing speakers, amplification and cables, identify what remains suitable, and document a staged route without assuming that every component must be replaced at once.
Room Drawings and Documentation Worth Keeping
The finished system should not become a mystery after handover. Keep a dimensioned plan showing screen, seats, speaker centres, heights, aiming and subwoofer locations. Record cable labels and conduit destinations, rack layout, network points, power circuits and ventilation paths. Save receiver assignments, crossover values, distance and level settings, room-correction files where export is supported, remote-control logic and source settings. Photograph concealed routes before closure and note access panels. These records shorten future troubleshooting and make upgrades safer because the next technician does not have to guess what is behind a wall. For a new build, share the coordinated drawing with the interior designer, electrician, HVAC contractor and ceiling team before execution. For a retrofit, document every compromise explicitly: an offset speaker, a blocked conduit or a shared power point may influence calibration and future changes. Good documentation is not administrative decoration; it is part of the after-sales value of an integrated system.
A Better Brief Produces a Better Recommendation
Before contacting an installer, collect room length, width and ceiling height; photographs from the screen and seating positions; the expected number of viewers; primary content; preferred display; existing equipment; construction stage; visible-speaker tolerance; and whether sound transmission affects family or neighbours. Note large openings, windows, curtains, hard floors, false ceilings, beams, fans and air-conditioning ducts. If gaming matters, list the consoles or PC and required frame-rate features. If music matters, explain whether listening is casual, social or focused. State the desired experience rather than only a model list: clear dialogue at low volume, strong but controlled bass, convincing overhead movement, simple family operation or a cinema that can also play stereo music. This evidence lets the first conversation eliminate unsuitable layouts quickly. It also helps separate essential infrastructure from equipment that can be upgraded later, keeping the proposal connected to the room instead of turning it into a generic bundle.
Why LiveInSmart
LiveInSmart approaches home theatre audio as a room-design and integration project. The conversation begins with room geometry, seats and use—not a predetermined speaker package. Customers can visit the Hyderabad Experience Centre in Ameerpet or discuss projects for Vijayawada and surrounding regions, then continue through one existing contact journey.
Room-first layout and infrastructure planning
Coordination across audio, projection, acoustics, networking and control
Clear scope before equipment selection
Installation, testing, calibration and user handover
Existing-system assessment and practical upgrade paths
One contact path for design discussions and service requests
After-Sales Support Is Part of the System
A home theatre remains dependable when its configuration is documented and support starts with diagnosis rather than guesswork. LiveInSmart can assist with operating guidance, source and connection changes, re-checking after furniture or room changes, firmware-related troubleshooting, replacement integration and periodic system review. Support scope and response arrangements should be agreed for each project rather than assumed.
Hyderabad and Vijayawada Room Planning
Apartments, villas and dedicated cinema rooms across Hyderabad and Vijayawada present different structural and acoustic constraints. In finished apartments, discreet surface routing and neighbour-aware bass may lead the design. In new villas, early conduit, rack, ventilation and ceiling coordination preserve more options. Visit LiveInSmart Hyderabad, explore Vijayawada, or use the existing contact page to arrange a room-specific discussion.
Common Mistakes to Avoid
Most disappointing systems are not caused by one bad component; they are caused by decisions made in the wrong order.
Buying speakers before fixing seating and screen positions
Choosing 7.1 when there is no space behind the sofa
Putting every speaker near the ceiling and losing layer separation
Hiding the centre speaker inside a closed cabinet
Selecting an AVR for today's channels with no path to the planned layout
Assuming room correction can repair poor geometry
Placing a subwoofer for convenience without testing response
Closing walls without labelled spare conduits
Treating decorative foam as sound isolation
Finishing installation without documented settings and handover
Experience Centre · Hyderabad
Visit our Hyderabad showroom
Book a free demo at the LiveInSmart Hyderabad Experience Centre — listen to Dolby Atmos, see 4K laser projectors and walk through live home-automation scenes before you buy.
Pancom Business Centre, Mumbai Hwy, Nagarjuna Nagar Colony, Ameerpet, Hyderabad 500073
Which home theatre sound system is best for a small room?+
A well-positioned 3.1 or 5.1 system is often the strongest starting point. If suitable height-speaker positions exist, 5.1.2 can add Atmos without forcing rear channels into a room that cannot place them correctly.
Is 5.1 enough for a home theatre?+
Yes. 5.1 provides a complete front stage, surround layer and bass channel, and suits many living rooms and single-row theatres. Placement and calibration matter more than adding channels the room cannot support.
What is the difference between 5.1 and 7.1?+
A 7.1 system adds two rear-surround channels behind the listeners. It is useful when there is genuine space behind the seating; otherwise a carefully arranged 5.1 layout may be more convincing.
What does 5.1.4 mean in Dolby Atmos?+
It means five ear-level speakers, a low-frequency-effects channel reproduced by one or more subwoofers, and four independent height speakers.
Do I need ceiling speakers for Dolby Atmos?+
In-ceiling or on-ceiling speakers generally create precise overhead effects, but the right method depends on ceiling construction, height and room constraints. Some rooms use reflected Atmos modules where physical installation is not possible.
Are two subwoofers better than one?+
Two correctly positioned and aligned subwoofers can make bass more consistent across multiple seats. They are not automatically better: poor placement or timing can create cancellation.
How powerful should my AV receiver be?+
Power needs depend on speaker sensitivity, impedance guidance, listening distance, room size and target level. Also confirm processed and amplified channels, HDMI needs, correction tools and expansion options.
Can I use different speaker brands in one system?+
It is possible, but closely matching the tonal character of the left, centre and right speakers helps sounds move smoothly across the screen. Subwoofers and height speakers can be selected around their specific roles and integration.
Where should the sofa go in a home theatre room?+
Avoid pressing the main seats against the back wall or placing them automatically at the exact centre of the room. Final position balances viewing distance, speaker angles, walkways and smoother bass response.
Does acoustic treatment also soundproof the room?+
No. Treatment manages reflections and decay inside the room. Soundproofing reduces transmission through the building using mass, isolation and airtight construction.
Can room correction fix bad speaker placement?+
No. Correction can improve timing and tonal balance within limits, but it cannot create missing geometric separation, unblock a speaker or remove a deep cancellation caused by the seat and room.
Should I pre-wire for more speakers than I install now?+
Usually yes when walls and ceilings are open. Labelled spare conduits for height channels, a second subwoofer, networking and future display changes cost less to plan early than to retrofit later.
Can a home theatre sound system also be good for music?+
Yes. Choose capable front speakers, integrate the subwoofer carefully and provide a clean stereo or direct listening preset. A mixed-use design should be planned for both content types from the beginning.
Does LiveInSmart install home theatre audio in existing rooms?+
Yes. Existing-room work starts by assessing furniture, cable routes, construction and current equipment, then identifies practical placement, acoustic and upgrade options without assuming a full rebuild.
How do I start planning with LiveInSmart?+
Measure the room, note ceiling height, seating count, main uses and any existing equipment, then share those details through the existing contact page. A site assessment can confirm the final design.
Design your room-specific audio system?
Bring your room dimensions, seating plan and listening priorities. LiveInSmart will help connect layout, amplification, bass, acoustics and installation into one practical design.